 TONELOUPE
Where's the skin-tone line in Premiere Pro?
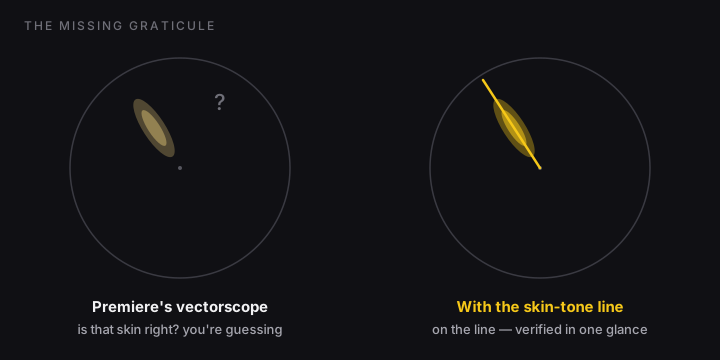
Resolve draws it. Final Cut draws it. Premiere's Lumetri vectorscope, the tool most working editors actually grade with, doesn't. The one reference mark colorists use most is simply missing.
 ToneLoupe puts the skin-tone line back, floating over
Premiere, verdict on the face itself. Free 7-day trial →
ToneLoupe puts the skin-tone line back, floating over
Premiere, verdict on the face itself. Free 7-day trial →
The missing graticule
Open Lumetri Scopes, switch to Vectorscope YUV, and you get the six color targets and the saturation rings, but no diagonal reference for skin. So the workflow everyone teaches ("check that faces sit on the skin-tone line") turns into squinting at a cloud and guessing whether its angle is right. The line itself hasn't changed; Premiere just doesn't draw it.
How Premiere editors work around it
- The clock method. Skin belongs at roughly "10:30–11 o'clock" on the YUV vectorscope, between the R and Yl targets. It works, but "roughly 11 o'clock" is a mushy target for an error that reads wrong at a few degrees.
- Masking before measuring. Crop or mask to the face so wardrobe and walls don't drown the trace. Necessary with any whole-frame scope, tedious on every clip.
- Third-party scope plugins. They exist, they're good, and they live inside Premiere only, so the moment you're checking an export or a review page, you're back to eyeballing.
Putting the line back, on the image
ToneLoupe takes the opposite approach to a plugin: it floats above Premiere (or anything else on your Mac) and reads the pixels under its loupe. Park it on the face in your Program monitor: skin on the line reads yellow, drift shows green or pink on the face itself, and the floating panel gives you a vectorscope, with the line, plus an RGB parade of just that region. No masks, no plugin chain, and the same check works on your exported file and your client's review page in a browser.
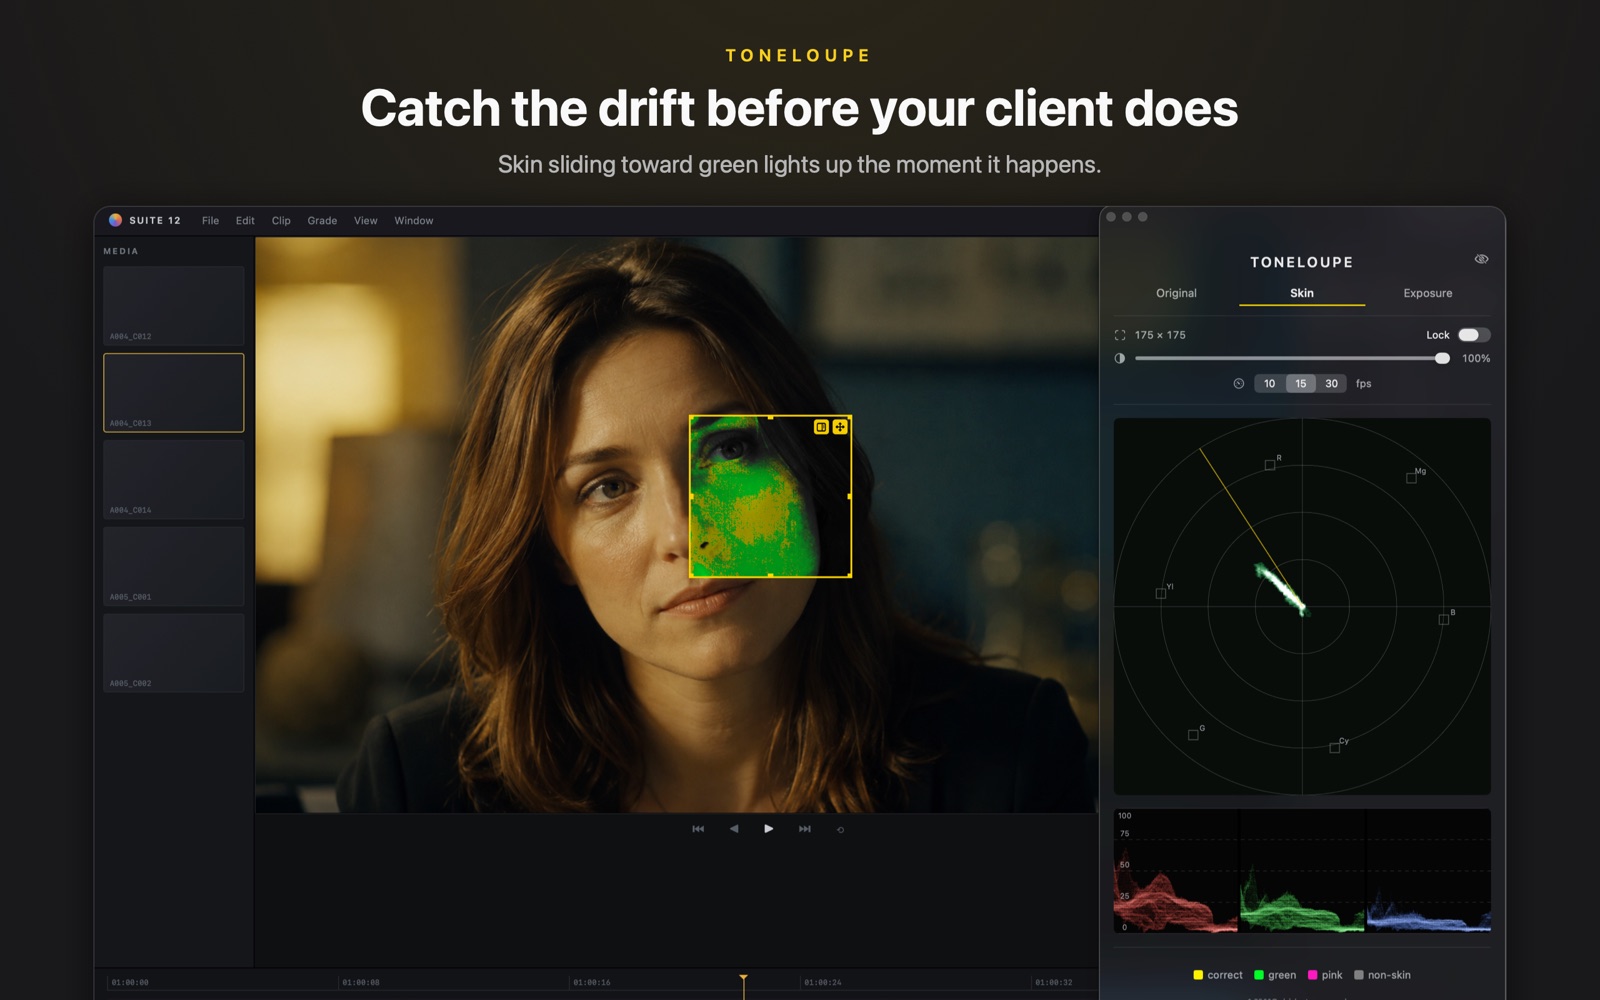
Skin-line false color on the face, live vectorscope and RGB parade of the loupe region, over Premiere or any app.